Looking for a way to remove AlDente Pro from your MacBook? Whether you’re cleaning up your hard drive or just no longer need the app, our step-by-step guide will walk you through how to remove AlDente Pro quickly and effectively.
Before You Uninstall AlDente Pro
Before proceeding with the uninstallation process, to be extra thorough, change the Charge Limiter to 100% and disable all settings within AlDente to prevent any issues.
How to Uninstall AlDente Pro on MacBook
To uninstall AlDente Pro from your MacBook, follow these easy steps:
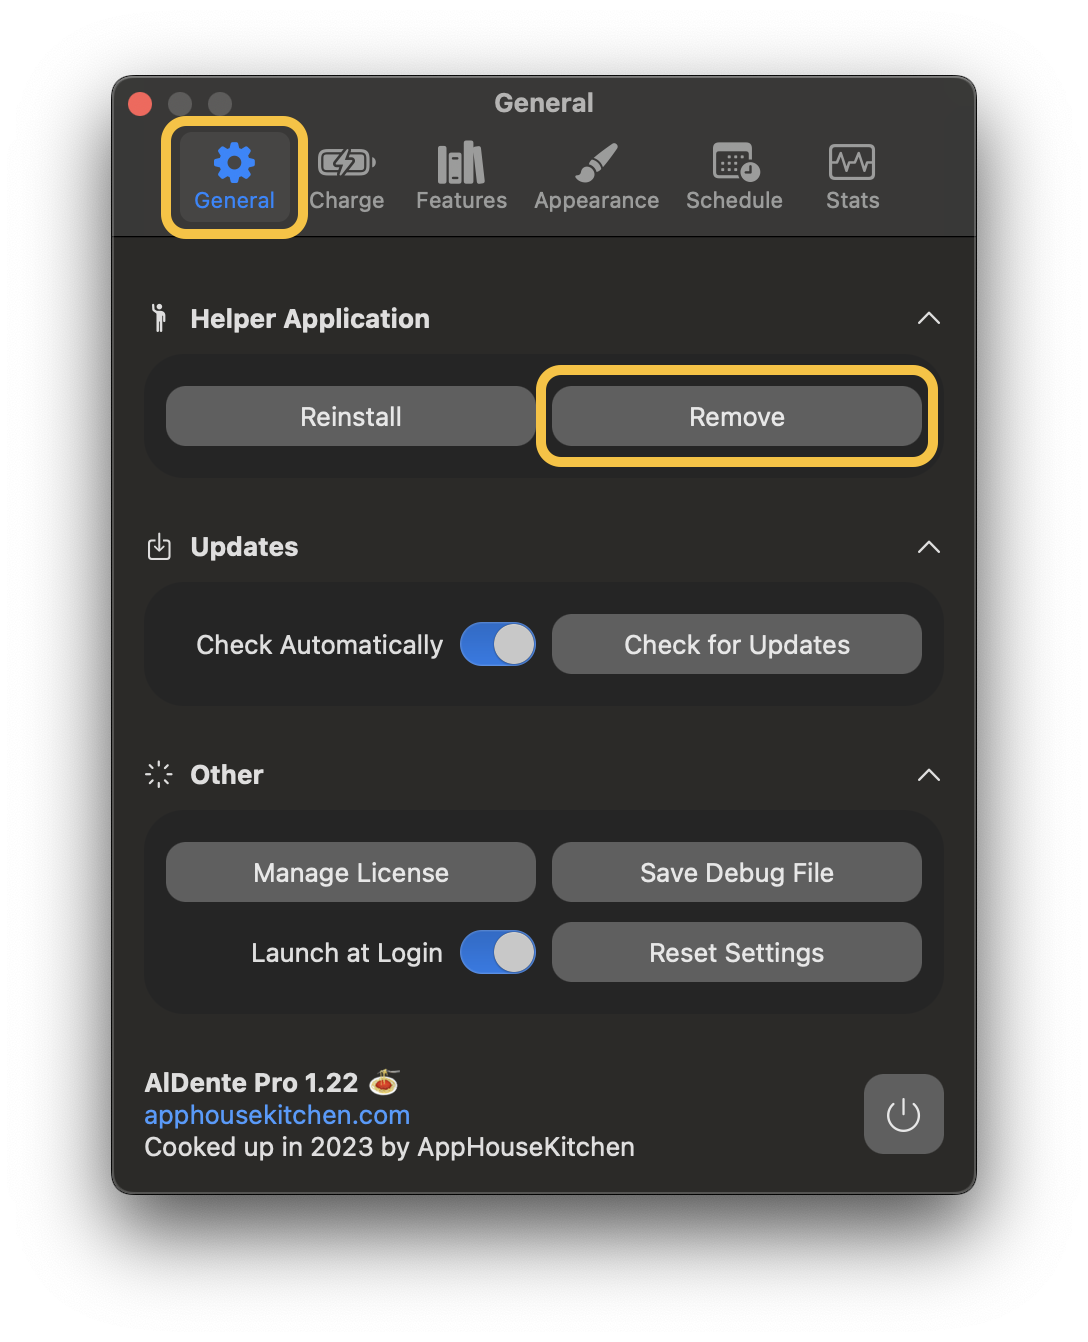
- Click on the menubar icon of AlDente and Click on the “gear” icon in the upper right corner.

- A new window opens. Click on “General” and “Remove”.
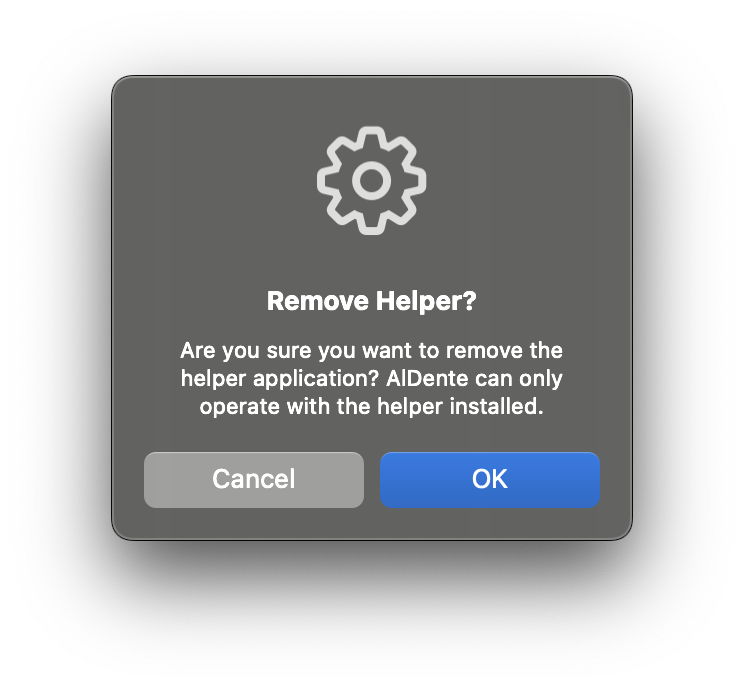
- Click on the “OK” button in the popup window.
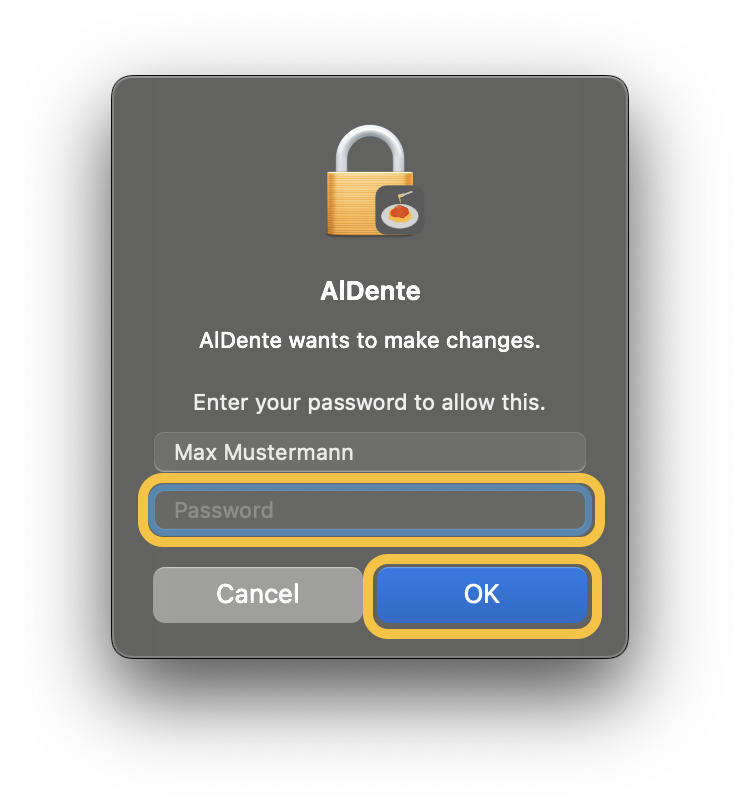
- Enter your user password and click on “OK”.
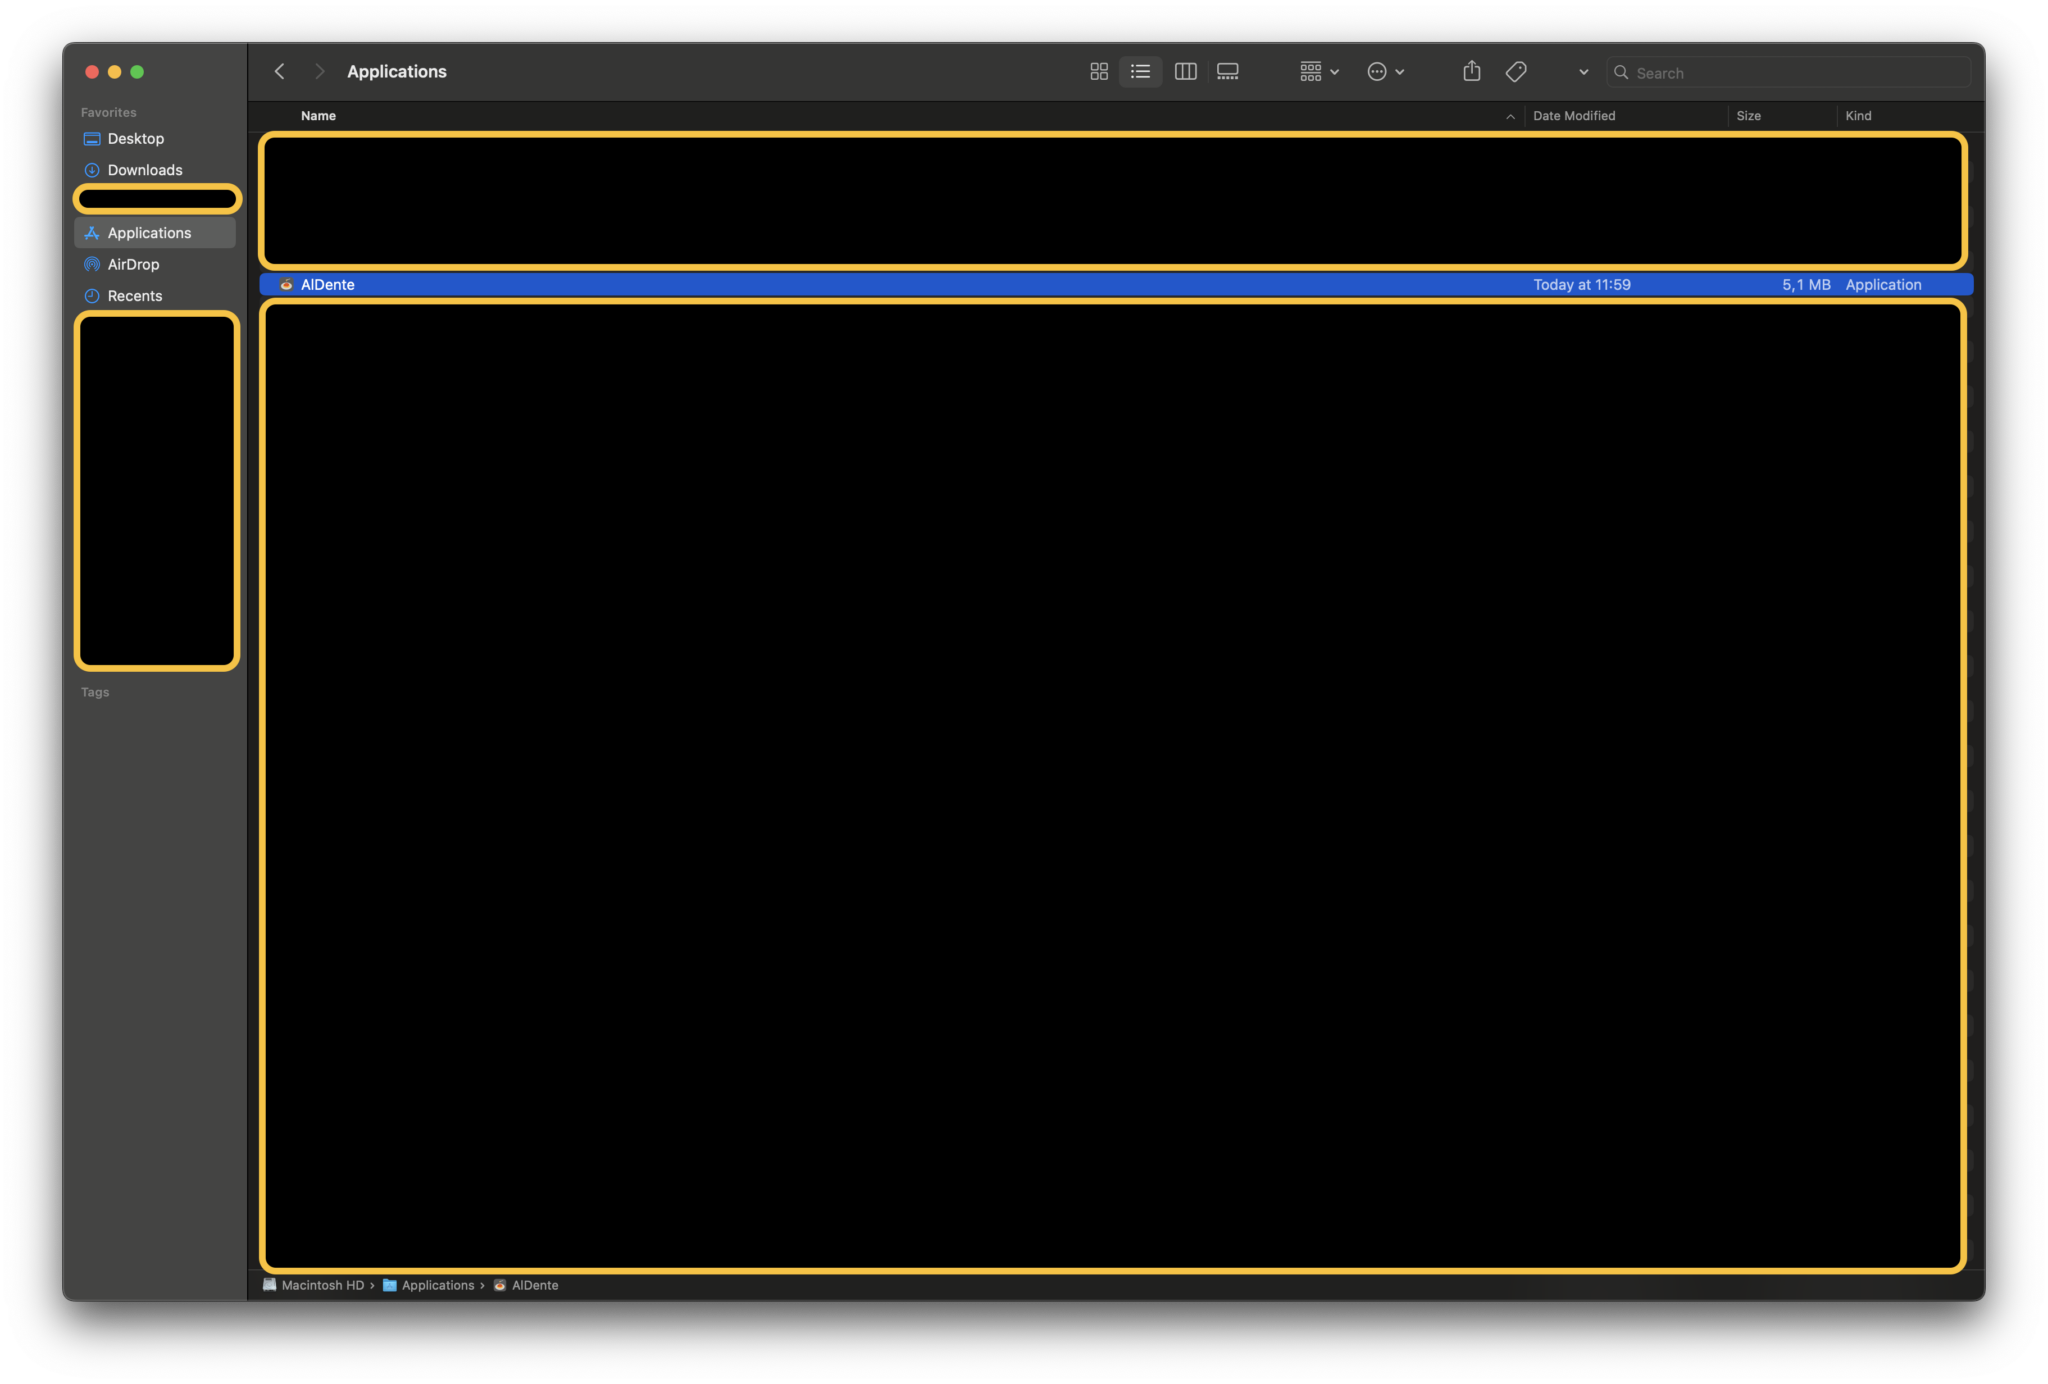
- Open the Finder application of macOS, go to the Applications folder, and Delete AlDente.
And voila! You’ve just uninstalled AlDente Pro from your MacBook. But wait, you’re not done yet. You also need to remove any remaining associated files to ensure a thorough cleanup.
Additional Steps: Removing AlDente Pro’s Associated Files
Most apps, including AlDente Pro, leave behind associated files on your MacBook even after you’ve moved them to the trash. To ensure a complete removal, follow these steps:
- Go to finder and navigate to /Library/PrivilegedHelperTools/ and delete the file “com.apphousekitchen.aldente-pro.helper“
- Navigate to Library/LaunchDaemons/ next, and remove “com.apphousekitchen.aldente-pro.helper.plist“
- Lastly, navigate to Users/”Your Username”/Library/Application Support and remove the “AlDente” folder
- Finally, empty your Trash to completely uninstall AlDente Pro from your MacBook.
- Restart your MacBook
Uninstalling AlDente Pro from your MacBook doesn’t have to be a difficult task. By following this guide, you’ve learned how to uninstall AlDente Pro and remove its associated files. If you decide to use AlDente Pro again in the future, you can always reinstall it by following our installation guide.